
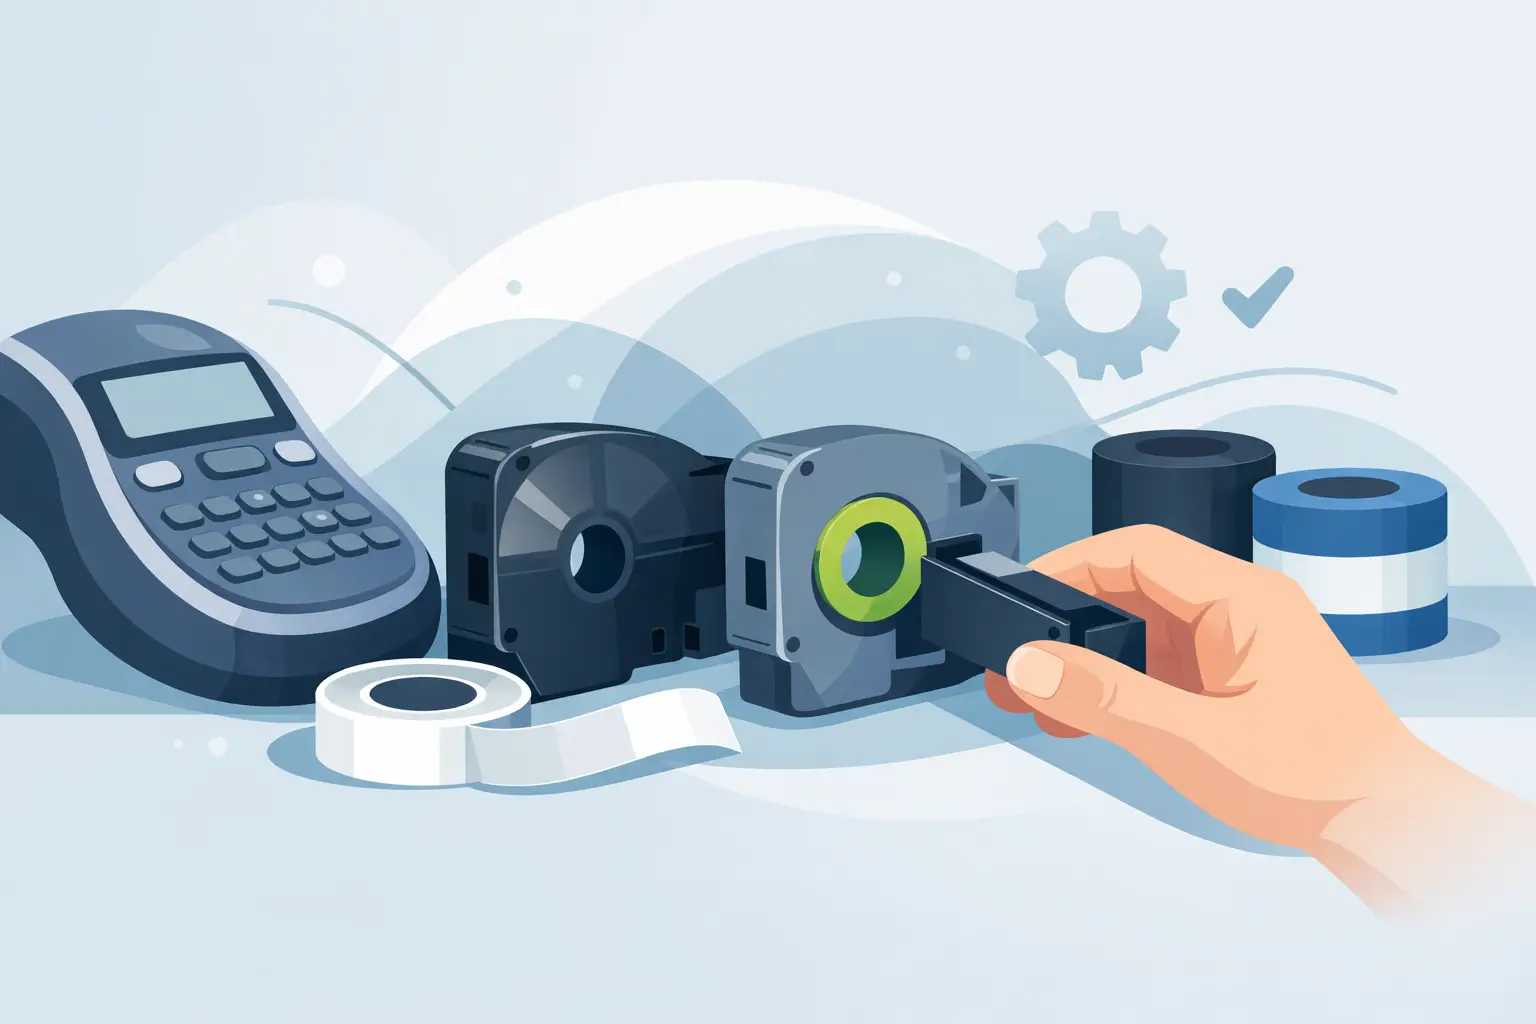
A label maker is most useful when it is ready the moment you need it. Whether you are organizing office files, labeling pantry containers, marking cables, or preparing stock for a small business, the wrong tape can stop the job before it starts. Choosing the right DYMO label tape replacement comes down to a few practical details: your label maker series, the tape width, the material, and the adhesive needed for the surface.
Buying replacement tape does not need to be complicated. The key is to match the tape to the machine first, then choose the finish that makes sense for the job. That approach helps you get clear, durable labels without paying more than necessary.
Start With Your DYMO Label Maker Series
DYMO makes several types of label makers, and they do not all use the same tape cassette. This is the most important detail to check before ordering. A tape may look similar to the one you have, but it can still be the wrong fit for your machine.
Many DYMO LabelManager models use D1 label tapes. These are common cassette-style tapes available in different widths, text colors, background colors, and materials. DYMO Rhino industrial label makers typically use Rhino tapes, which are designed for tougher workplace labeling jobs. LetraTag machines use LetraTag tapes, while XTL label makers use XTL cartridges for professional and industrial applications.
There is one more distinction that often causes confusion. DYMO LabelWriter printers use label rolls, not label tape cartridges. If your machine prints address labels, shipping labels, or barcode labels from a roll, you need LabelWriter-compatible labels rather than a DYMO tape replacement.
Before you buy, look at the model name printed on the front or bottom of your label maker. You can also check the existing cassette. Its label often states the tape family and width, making it much easier to find a compatible replacement.
Choose the Right DYMO Label Tape Replacement Width
Tape width affects both the appearance of the label and whether it will fit in your label maker. Common widths include 1/4 inch, 3/8 inch, 1/2 inch, 3/4 inch, and 1 inch, although available sizes depend on the tape family and machine.
Narrow tape is a good choice for small folders, cables, spice jars, and compact storage bins. It keeps labels tidy where space is limited. Wider tape gives larger text and better visibility, making it useful for warehouse shelves, equipment, binders, archive boxes, and larger containers.
If you are replacing an existing cassette, matching its width is usually the safest option. If you are changing the label size, check your label maker specifications first. Some compact machines accept only narrower tapes, while larger LabelManager or Rhino models may support a wider range.
Think about viewing distance as well. A label on a desktop drawer may only need small text. A label on a backroom shelf should be easy to read from several feet away. Choosing a slightly wider tape can make everyday organization faster for everyone who uses the space.
Match the Tape Material to the Job
Not every label needs the same level of durability. Standard plastic label tape works well for general home, school, and office use. It is a practical option for files, folders, containers, storage boxes, and everyday equipment.
For locations exposed to moisture, heat, cleaning products, or regular handling, a more durable material may be the better choice. Laminated tapes offer added protection for labels used in kitchens, garages, utility rooms, and workspaces. Flexible tapes can be useful on curved surfaces such as cables or rounded containers. Strong adhesive options are better suited to rougher surfaces, including textured plastic, metal, or equipment cases.
The trade-off is simple: specialty tape can cost more, but it may save time and replacement costs when labels need to stay readable for a long period. For a temporary project or a smooth indoor surface, standard tape is often all you need. For inventory, tools, electrical work, or frequently handled items, durability is worth considering.
Adhesive Strength Matters More Than Most People Expect
A label can print perfectly and still fail if the adhesive is wrong for the surface. Standard adhesive works best on clean, dry, smooth materials. Before applying a label, wipe away dust, oil, moisture, and residue. Press the tape down firmly, especially at the edges.
Strong adhesive tape is useful when labels need to stay put on uneven, cold, or regularly touched surfaces. However, it may be harder to remove later. If you label reusable containers or frequently reorganize shelving, standard adhesive may be the more convenient option.
For cable labeling, choose tape designed to wrap or flag around wires. Ordinary flat labels can lift at the edges when wrapped tightly around a small cable. The right tape style keeps the text visible and reduces the need to reprint labels later.
Pick a Color Combination You Can Read Quickly
The classic black-on-white label is popular because it is easy to read in most settings. But color choices can make organization more useful when you manage multiple categories, departments, or projects.
Black text on white, clear, or yellow backgrounds is often ideal for general use. White text on black tape can create a clean, high-contrast look for electronics, storage, and darker surfaces. Colored tapes can help separate files, identify household bins, sort classroom supplies, or distinguish stock locations.
Visibility should come before decoration. A color that looks good on the cassette may be difficult to read under low light or from a distance. If labels are used in a shared workplace, keep the system simple and consistent. For example, one color for stock, another for returns, and a third for equipment can reduce mistakes without making the area look cluttered.
Compatible Tape Can Be a Practical Value Choice
Original DYMO tape is a familiar option, but compatible replacement tape can be a sensible choice for customers who label often and want to control ongoing supply costs. A quality compatible cassette is made to fit the appropriate label maker series and provide clear printing, reliable adhesion, and straightforward installation.
Compatibility is not the same as universal fit. Always check that the replacement tape is listed for your specific tape family, such as D1, Rhino, LetraTag, or XTL. Do not assume a cassette will work simply because it has the DYMO name or looks close in size.
For home offices and small businesses, keeping a few frequently used tape sizes on hand can prevent interruptions. A practical starting point is a standard black-on-white cassette for general labels, plus one wider or specialty tape for larger storage, cables, or tougher surfaces. This avoids last-minute purchases while keeping your supply cupboard manageable.
How to Replace a DYMO Tape Cassette
Replacing a tape cartridge is usually quick. Open the cassette compartment, remove the empty tape, and place the new cassette in the same orientation. The tape should sit flat in the compartment without forcing it. Close the cover securely, then print a short test label.
If the first label has extra blank space, uneven printing, or a cut issue, feed the tape according to your machine instructions and try again. Avoid pulling tape directly from the cassette, as this can affect the feed mechanism. If the machine does not recognize the cassette, remove it, check that it is the correct series, and reinstall it carefully.
A clean print head also helps. If labels are faint or have missing sections, dust or adhesive residue may be affecting print quality. Cleaning the print head gently with the method recommended for your machine can often solve the problem.
Avoid These Common Replacement Mistakes
The most common mistake is ordering by tape color or width before confirming the label maker series. A 1/2-inch tape is not automatically compatible just because your old tape was 1/2 inch. The cassette type must match first.
Another issue is choosing a tape based only on price. The lowest-cost option may not suit the surface, environment, or adhesive strength required. For labels that need to survive regular handling, moisture, or heat, choose tape built for that purpose rather than reprinting the same labels repeatedly.
Finally, do not wait until the last cassette is empty if labels are part of your daily routine. Keeping replacement tape ready means your filing, shipping, storage, and organization tasks can continue without delays. The right DYMO label tape replacement is a small supply item, but it keeps a surprising number of everyday jobs moving.