
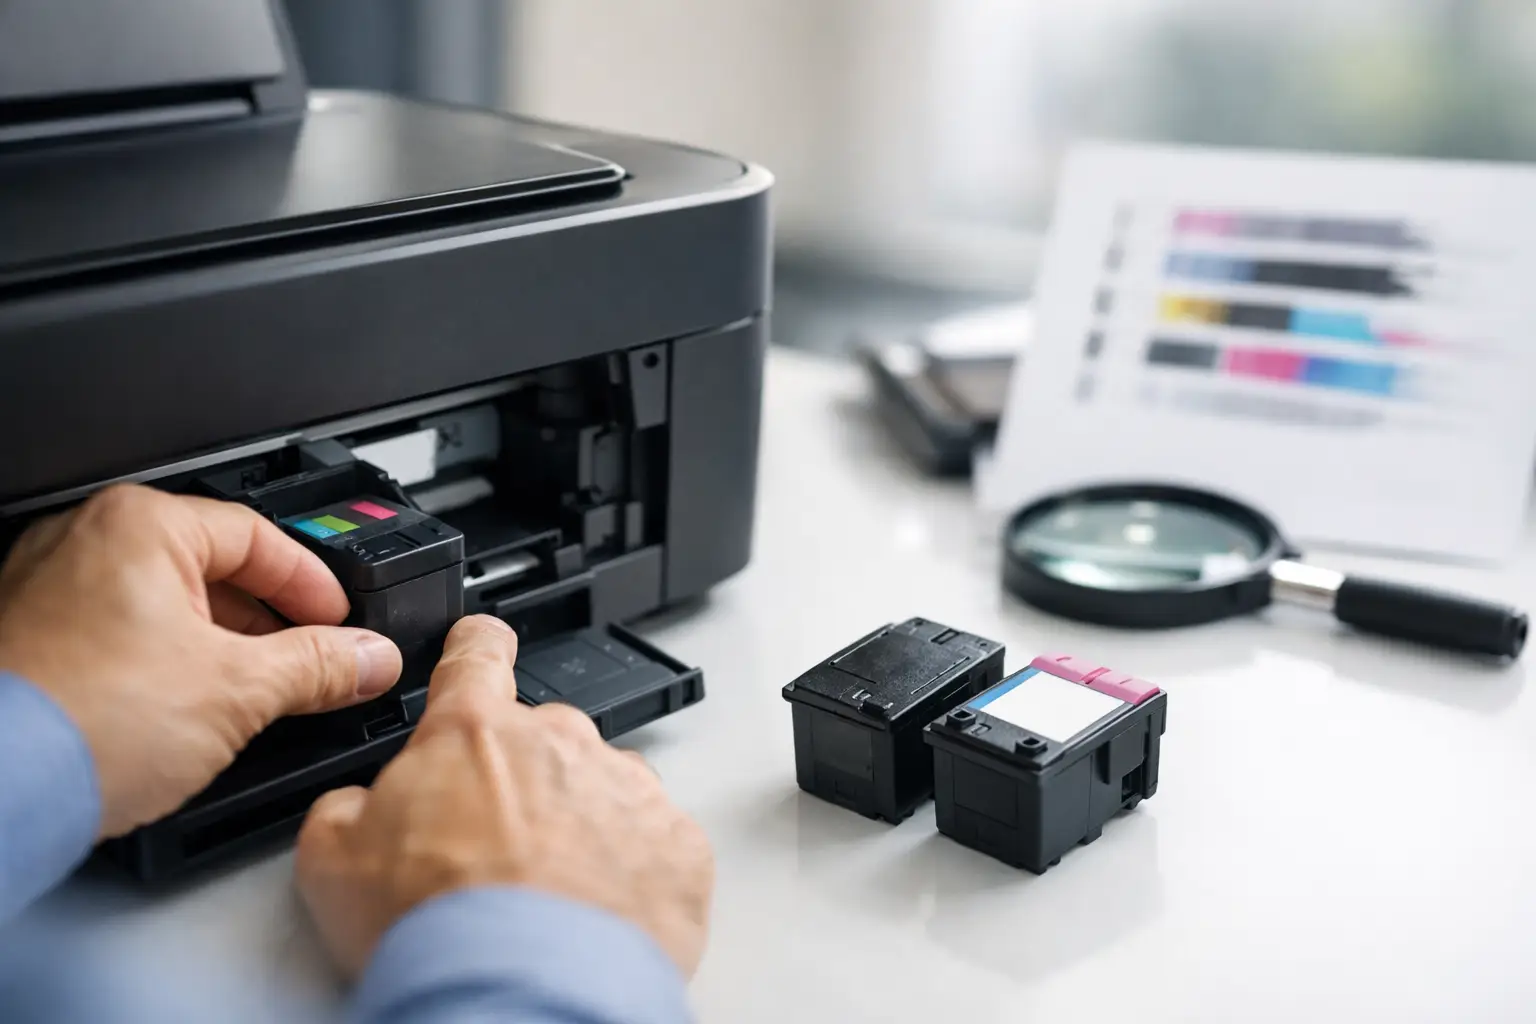
A printer that suddenly says “cartridge problem” can stop homework, invoices, shipping labels, and everyday paperwork in seconds. Most HP cartridge troubleshooting starts with a few simple checks: confirm the cartridge is the correct model, make sure it is seated properly, and rule out blocked printhead nozzles before assuming the cartridge has failed.
The right fix depends on the message on your printer screen and the way the page looks. An empty-cartridge warning, faded text, streaky color, and a cartridge-not-recognized error can have very different causes. Working through the basics in the right order can save you time, ink, and the cost of replacing a cartridge that still has useful life left.
Start With the Cartridge Model and Installation
HP printers are designed for specific cartridge numbers, not just a general printer brand or product shape. Two cartridges can look nearly identical but use different chips, ink formulations, or page-yield sizes. Check the cartridge number shown inside the printer access door, in the printer manual, or on the cartridge you are replacing.
If you have just installed a new cartridge, remove it and inspect it before putting it back. New cartridges commonly have a protective tape or pull tab over the ink outlet or electrical contacts. That tape must be fully removed. Do not touch the copper-colored contacts or ink nozzles with your fingers, since skin oils can interfere with communication and ink flow.
Reinstall the cartridge firmly into the correct color-coded slot. Close the access door completely, then allow the printer a minute to initialize. If the printer uses an alignment process, run it when prompted. Skipping alignment may not cause an error, but it can lead to fuzzy text, uneven lines, or colors that do not line up correctly.
Check for Shipping Clips and Packaging Left Behind
Compatible and high-yield cartridges may include orange clips, vent seals, or extra packaging that must be removed before use. Keep the cartridge level while removing these pieces. Tilting it aggressively or squeezing the ink chamber can create a mess and does not improve performance.
If a cartridge has been stored for a while, gently rock it from side to side a few times before installation. This is most useful for toner cartridges, where the powder can settle during storage. Do not shake an ink cartridge hard.
Fix an HP Cartridge Not Recognized Error
A recognition error usually means the printer cannot read the cartridge contacts or believes the cartridge is incompatible. It does not always mean the cartridge is defective.
First, turn the printer on, remove the affected cartridge, and unplug the printer for about 60 seconds. While it is unplugged, inspect the contacts on both the cartridge and the printer carriage. If you see dust, ink residue, or fingerprints, wipe the contacts lightly with a clean, lint-free cloth. For dried ink, use a cloth that is only slightly damp with distilled water, then let everything dry fully before reinstalling.
Turn the printer back on and install the cartridge again. Make sure it clicks into place. If the error remains, install the old cartridge if you still have it. This quick test helps narrow down the cause. If the old one is recognized and the new one is not, recheck the cartridge number and protective tape. If neither cartridge is recognized, the printer contacts or carriage may need attention.
Some HP printers display messages about a cartridge being used, refilled, or non-HP. A compatible cartridge can trigger a notice because the printer identifies the chip, not because the cartridge cannot print. Read the exact on-screen message. If it offers an option to continue, acknowledge the message and print a test page. Do not ignore a message that specifically says the cartridge is incorrect for your printer model.
Firmware can also affect cartridge recognition. If a previously working compatible cartridge stops being accepted immediately after a printer update, check the printer settings and update history before buying a replacement. Automatic updates can be convenient, but they may change how some printers handle third-party supplies.
Solve Streaks, Fading, and Missing Colors
Pages with white lines, faded text, or missing color are usually an ink-delivery problem. Start by printing a printer status report or print-quality diagnostic page from the printer control panel or its software. This shows which color is failing and prevents guesswork.
For inkjet printers, run the built-in printhead cleaning tool once. Then print another diagnostic page. If the quality has improved but is not fully restored, run the cleaning tool one more time. Repeated cleanings use a noticeable amount of ink, so avoid running it over and over. Two or three cycles are normally enough to show whether cleaning is helping.
If one color remains blank, remove that cartridge and check that its vent is open and the tape has been removed. You can carefully blot the nozzle area against a damp paper towel for a few seconds, then place it on a dry paper towel. A small, clean ink mark is normal. Never scrape the nozzle plate or use household cleaners.
For laser printers, streaks and light printing can point to low toner, uneven toner distribution, a worn drum unit, or paper that does not suit the printer. Remove the toner cartridge and gently rock it side to side to redistribute remaining toner. Reinstall it and test again. This may restore print quality temporarily, but it is a sign that a replacement is due soon.
Do Not Overlook Paper and Printer Settings
Not every print-quality issue comes from the cartridge. Damp paper can cause smudging, curled pages, and poor toner adhesion. Low-quality paper can make colors look dull or allow ink to feather into the page. For photos and color documents, confirm that the paper type selected in the print settings matches the paper in the tray.
A draft or economy setting can also make documents look faded even with a full cartridge. Choose normal or best quality for important documents, labels, presentations, and images. For routine internal pages, draft mode remains a practical way to lower ink use.
When HP Says a Cartridge Is Empty Too Soon
An “empty” or “low ink” message is an estimate, not a laboratory measurement. HP printers calculate remaining ink based on usage patterns, cleaning cycles, and cartridge data. The warning can appear while there is still enough ink for a number of pages.
If print quality is still good, you can usually continue printing until the printer refuses or the page output becomes unreliable. Keep a replacement ready if you print time-sensitive documents, but do not throw away a cartridge solely because of an early low-ink message.
On the other hand, a cartridge that goes empty unusually fast may be affected by frequent printhead cleaning, heavy photo printing, or long periods without use. Inkjet printers run maintenance cycles that consume ink, especially when they are switched on and off repeatedly. Printing a small color page every week or two can help prevent nozzle clogs and reduce the need for intensive cleaning later.
HP Cartridge Troubleshooting for Compatible Supplies
Compatible cartridges are a cost-conscious alternative to OEM cartridges, but compatibility still needs to be exact. Buy by cartridge number and printer model, not by appearance. A reliable compatible cartridge should install cleanly, communicate with the printer, and produce consistent pages, but a poor fit or the wrong chip version can create immediate errors.
Before opening a new replacement, compare its label with your old cartridge. Check the color, cartridge number, and regional version if applicable. Keep the packaging until you have printed a successful test page. This makes it much easier to identify a product issue if you need a return, replacement, or support.
Store spare ink cartridges sealed in their original packaging, away from direct sunlight and heat. Store toner cartridges flat in a dry place. Buying ahead can prevent downtime, but it is best not to stock more supplies than you are likely to use within a reasonable period.
When It Is Time to Replace the Cartridge
Replace the cartridge when a correct installation, a basic contact clean, and one or two printhead cleanings do not restore dependable results. For inkjet printers, persistent missing colors or repeated recognition errors after these checks usually justify a new cartridge. For laser printers, recurring marks in the same spot on every page may indicate a drum or maintenance issue rather than toner alone.
If a new cartridge still produces the same problem, pause before opening another one. The printer itself may need a printhead, carriage, drum, or paper-path check. A short diagnostic page is useful evidence because it shows whether the fault repeats in a consistent pattern.
Keep your printer model and cartridge number written down near the printer or saved with your office supplies. When printing cannot wait, knowing exactly what you need is the simplest way to order the right replacement quickly and get back to clear, dependable pages.